
Data - Vulnlab
Data was another interesting machine that involved interacting with a Grafana web service and utilizing web-app exploits to gain access to a docker container. This is the first writeup that I’ve written that exploits docker breakout, so I hope I’ll be able to explain it properly.
Enumeration
Let’s start with a basic NMAP scan.
Starting Nmap 7.94SVN ( https://nmap.org ) at 2024-06-02 12:15 EDT |
Given that the only other port is SSH, we’ll look towards port 3000 for the start of our attack path. You can find information about this specific port here, which it seems as though that we are able to access it through HTTP based off an aggressive scan I ran afterwards.
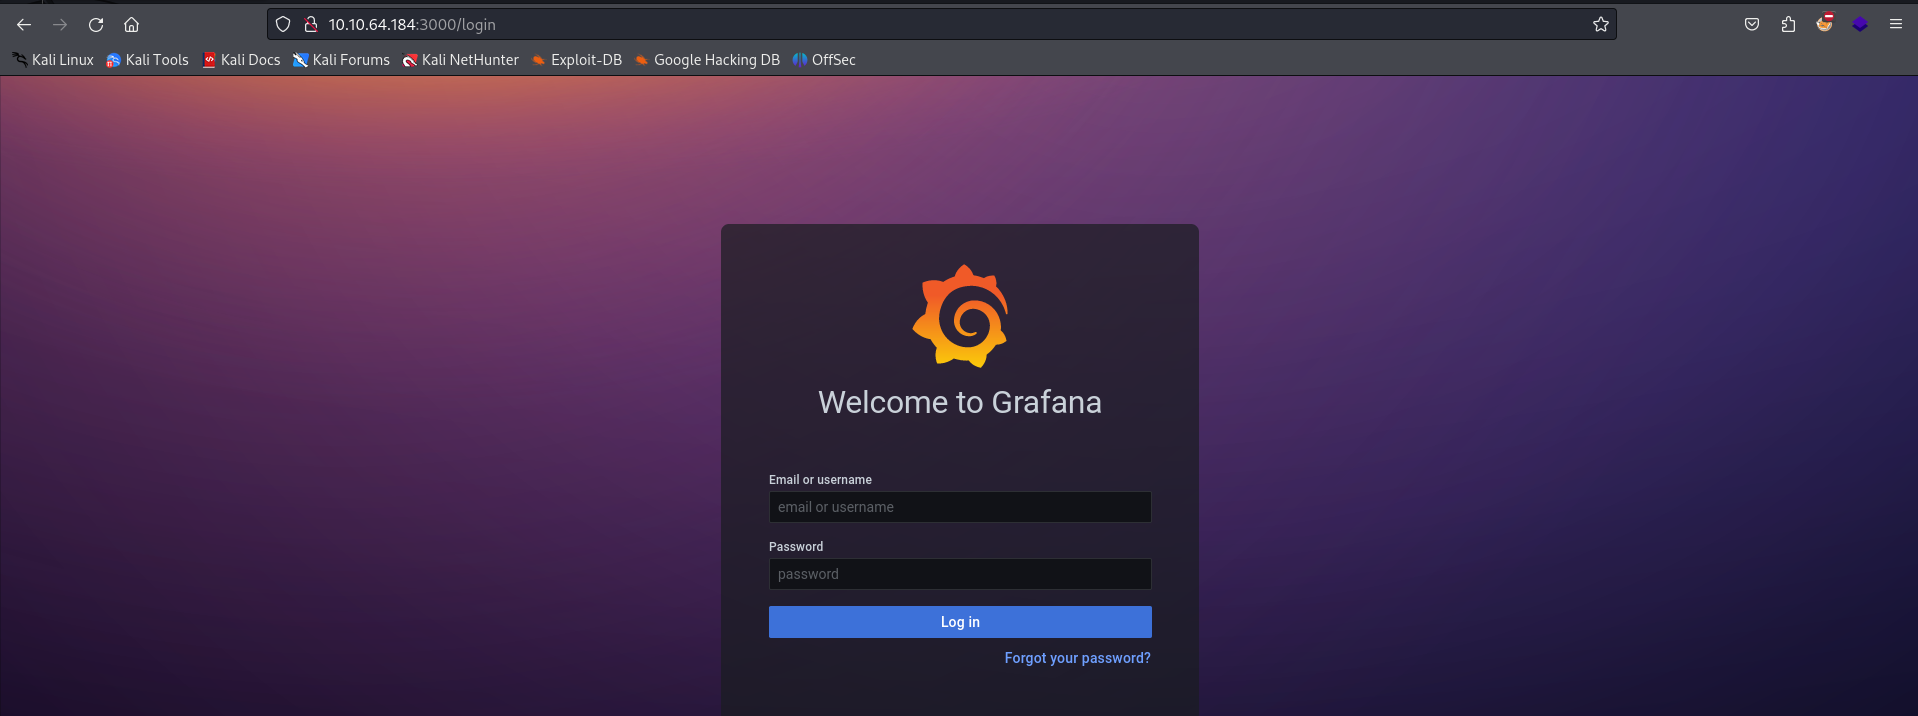
This brings us to a Grafana landing page, one of the services that was listed on this port through the article I referenced earlier. The version of this application is v8.0.0, meaning we could potentially look for exploits for this specific version.
As for the service itself, Grafana seems to be a web application used for data visualization. While we’re currently interacting with a login panel, authenticated users will be met with a framework/GUI that allows them to configure imported data from databases such as SQL. You can find more information about the service via the documentation here.
LFI via Plugins
I did some research into this specific version v8.0.0, and it seems as though this is vulnerable to arbitrary file read via CVE-2021-43798. This essentially allows us to traverse through the website’s root filesystem directly through the URL. The POC that I referenced does this manually for us - so we’ll use it to determine if we can access to any files.
└─$ ./ExploitGrafana.sh -h http://10.10.64.184:3000 -f /etc/passwd |
It seems as though we were able to get a 200 response from the path traversal. You can see the GET request in the markdown above, and at the bottom of this commands output should be the /etc/passwd file of the machine. This confirms that the POC works and that the website is vulnerable.
That being said, we’ll still need to be able to use this vulnerability to find credentials. This HackTricks article outlines a default file that we can grab that should have valid credentials to the website if it was installed with no further maintenance. The file that we are looking for is under /var/lib/grafana/grafana.db, the internal Grafana SQLITE database.
We can grab this easily with cURL, and we can save it to a file locally using --output to prevent it from being outputted to the terminal.
└─$ curl http://10.10.64.184:3000/public/plugins/alertlist/../../../../../../../../../..//var/lib/grafana/grafana.db --path-as-is --output grafana.db |
Now that we have the Grafana database locally, we can read it with sqlite3 and use .dump to dump out all the contents of the database.
Alternatively, we can determine the specific table we want to look at by running .tables, which will tell us that there is a user table. We can then run SELECT * from user; to dump this table and all of its contents.
sqlite> SELECT * FROM user; |
Cracking Grafana Hashes
sqlite> select name,password,salt from user; |
It seems that we were able to dump the passwords, though they’re in an odd format. If you’ll notice, we have the password to the user’s boris and admin, along with what looks to be a salt. Simply putting the password into a hash-identifier will not produce any results, we’ll need to crack this hash given the salt.
Doing some more research, I found an article here that explains a bit about the hashing algorithm that Grafana uses for this database. That is, at least for this version that we’re currently on. It seems that the algorithm is just encoding the password and salts in Base64 before putting them after the sha256:10000 identifier. Based on the article, the salt’s are simply passed through a standard base64 encoding, which we can encode by using CyberChef.
The same cannot be said for the password, as the hexadecimal bytes of the plaintext password are passed into the base64 encoding. I created a little snippet of code that does this for us using Python.
import binascii |
After running the Python file above, we’ll receive the proper base64 encoding of the password. We can now format the password locally in order to use it with Hashcat.
sha256:10000:TENCaGR0SldqbA==:3GvszLtX002vSk45HSAV0zUMYN82COnpm1KR5H8+XNOdFWviIHRb48vkk1PjX1O1Hag= |
The specific hash identifier for PBKDF2-HMAC-SHA256 can be found on Hashcat’s documentation here. The identifier we’re looking for is 10900.
└─$ hashcat -a 0 -m 10900 boris.txt /usr/share/wordlists/rockyou.txt |
It seems as though we were able to successfully crack this hash and have obtained the password for the boris user. We would normally use this to authenticate to the machine, however I tested it through SSH and it seems that this password is also used for SSH as boris.

Now that we have the user flag, we can move onto privilege escalation to try and obtain root.
Docker Breakout
So before interacted with anything, you’ll see that the IP address on our command-line delimiter is different than the IP of the machine, being 10.10.10.11. Furthermore, if you had looked at the MOTD from this machine when you authenticated, you can see that there is a network interface that we are connected to that has an IP address of 172.17.0.1.
This indicates to me that we are currently logged into a docker interface, meaning we’ll need to breakout of the container if we want to access the resources for root.
boris@ip-10-10-10-11:~$ sudo -l |
If you run sudo -l it seems as though we have sudo privileges to /snap/bin/docker exec and all of the contents of that specific binary. If we check the manual of the binary, we can see that it gives us a little more information on how to exploit it. You can find more information on how to exploit this using this HackTricks article here.
boris@ip-10-10-10-11:~$ sudo docker exec -h |
There seems to be a privileged flag that we can run alongside the binary. This is most of what we’ll need, the only exception being a valid container. If you attempt to enumerate any of the running containers, you won’t be able to as we only have sudo access to docker exec. This means we’ll need to try and find any running containers/container IDs, or just get lucky with a bit of guessing.
Fortunately enough we won’t have to do any of that. If you run ps awwfux on this container, you’ll see that there’s already a container running in the context of root.
root 1670 0.0 0.7 712860 7912 ? Sl 16:11 0:00 /snap/docker/1125/bin/containerd-shim-runc-v2 -namespace moby -id e6ff5b1cbc85cdb2157879161e42a08c1062da655f5a6b7e24488342339d4b81 -address /run/snap.docker/containerd/containerd.sock |
It also shows us the specific ID of this container, meaning we can attach to it using our docker exec command.
boris@ip-10-10-10-11:~$ sudo docker exec -it --privileged --user root e6ff5b1cbc85cdb2157879161e42a08c1062da655f5a6b7e24488342339d4b81 /bin/bash |
Mounting XVDA
Although we are root, we aren’t technically finished yet. We’ll need to find the root flag, which is not currently on this machine as we are within a docker container.
Through a quick bit of research, I found that the /root filesystem of the docker controller is within /dev/xvda1, meaning we can mount that to a local directory on our container to view the contents.
bash-5.1# pwd |
If we access this specific directory where xvda1 was mounted, we’ll see the filesystem of the docker controller here.
bash-5.1# cd mount_xvda/ |
As you can see, we were successfully able to read the contents of the /root directory on the actual machine, meaning we have successfully completed this machine!
Conclusion
Although I dislike Docker, this box was really fun altogether. Docker breakouts are trivial, however research into them is relatively straightforward and logically makes sense. The earlier parts of the machine were helpful as well, especially the portion where we needed to format the hash correctly before cracking it. Big thanks to xct for the development of this machine, as it helped a lot with practice.
Resources
https://www.speedguide.net/port.php?port=3000
https://grafana.com/docs/grafana/latest/introduction/
https://github.com/wagneralves/CVE-2021-43798/tree/main
https://book.hacktricks.xyz/network-services-pentesting/pentesting-web/grafana
https://vulncheck.com/blog/grafana-cve-2021-43798
https://gchq.github.io/CyberChef/
https://hashcat.net/wiki/doku.php?id=example_hashes
https://book.hacktricks.xyz/linux-hardening/privilege-escalation/docker-security/docker-breakout-privilege-escalation