
Manage - Vulnlab
Manage is one of the latest machines created by fume and xct, and it involves enumerating and exploiting a Java MBeans application that is tied to Apache Tomcat. Privilege escalation then involves general binary exploitation with sudo privileges.
Enumeration
Starting Nmap 7.94SVN ( https://nmap.org ) at 2024-07-03 16:19 EDT |
As we can see, it seems as though there are three ports open - SSH, a web-server behind a proxy, and finally a new service that I haven’t seen before on port 8080.
Assuming that we don’t have access to SSH immediately, I went to the web server on port 8080 to see if there was anything we could access.
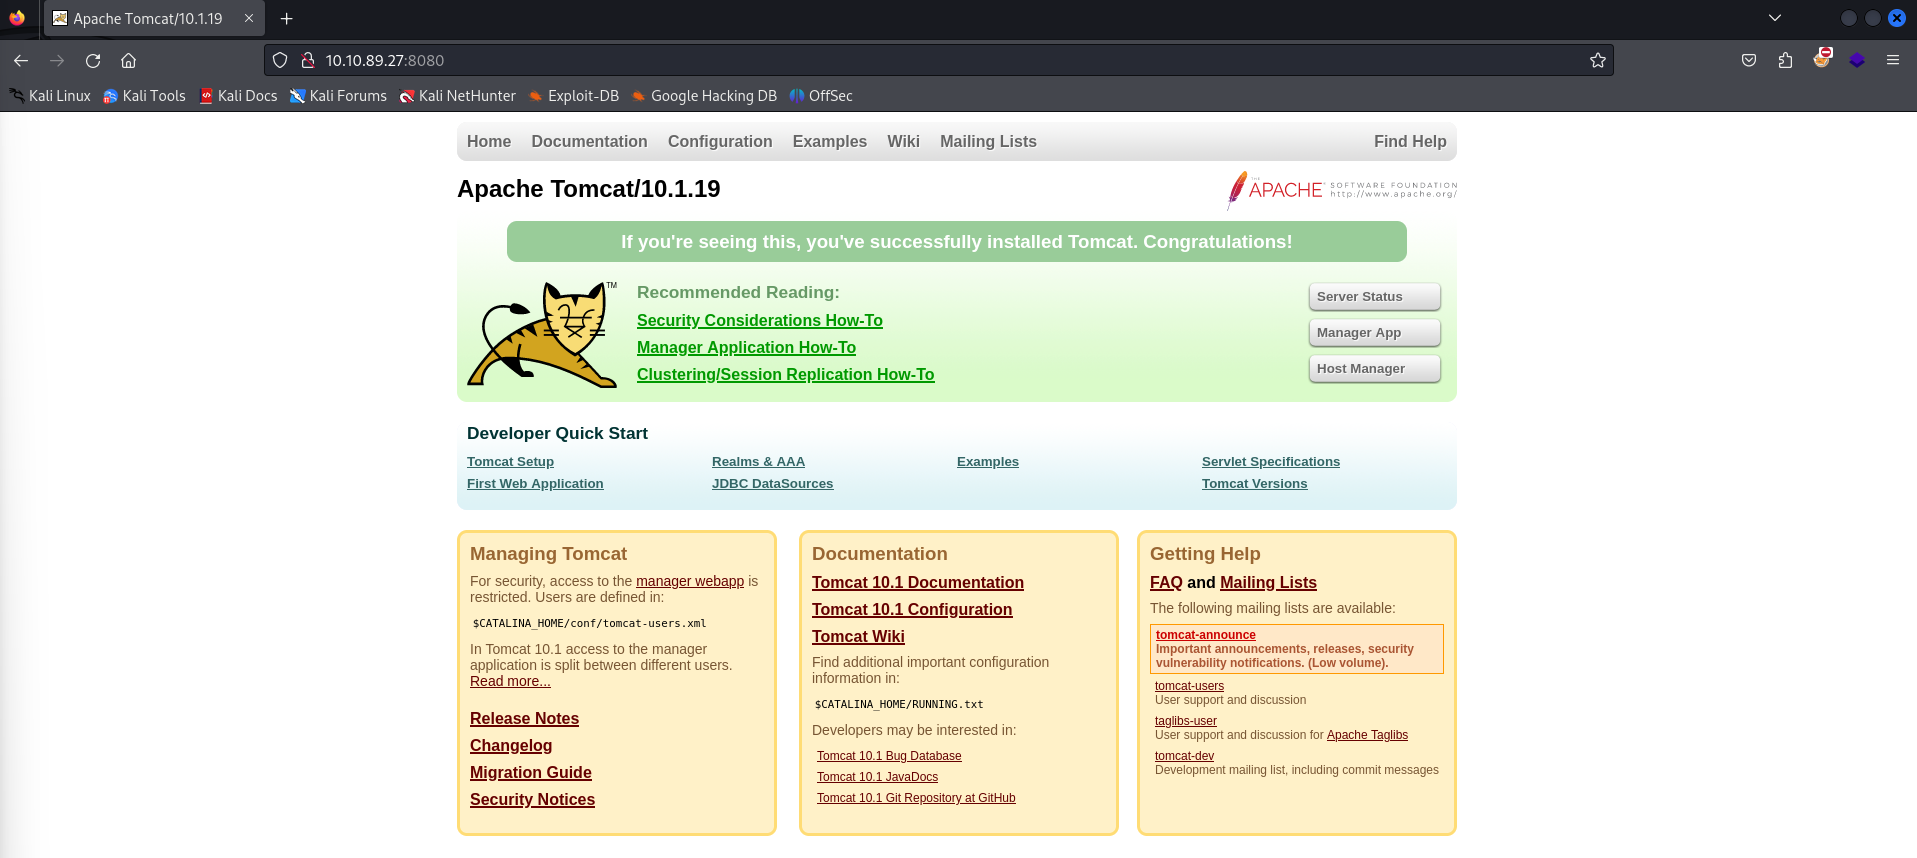
It seems to be a relatively generic Apache Tomcat server, with the specific version of Tomcat being 10.1.19.
I researched a bit into the Tomcat version, and there doesn’t seem to be much to exploit for this specific instance. I also made sure to enumerate the directories, however there doesn’t seem to be much that we can access from this specific web server.
Java RMI/RMX
This lead me to research into what the third port that we have, port 2222. I found that doing a bit of continued enumeration with NMAP allowed us to discover the actual service on this port.
└─$ sudo nmap -A -p2222 10.10.89.27 |
The service seems to be Java RMI, the Java Remote Method Invocation API. This API allows the developer to create Java-based technology and connect it with Java-based applications. This allows the developer to invoke Java objects on other Java machines within the application environment, and also serialize user objects by supporting object-oriented polymorphism.
In much simpler terms, this allows developers to invoke a pre-created Java method onto an object that is from another address space. This space can live on either the same machine or another machine that has access to the RMI space.
Remote machines can invoke methods on a the JVM (Java Virtual Machine) whether that be on the same machine (client-side) or on another machine as described previously (sever-side). RMI will automatically create a public server so that these client and server-side communications can be invoked with simple method calls.
You’ll also notice that there seems to be a JMX instance tied to this RMI functionality. JMX is the Java Management Extensions framework that allows for easy and reliable configuration of a Java application whether that be remotely or locally. This introduces the concept of MBeans, which is a managed java object that follows patterns set by the JMX application.
A JMX architecture can consist of the following (credit goes to Baeldung):
- Instrumentation Layer: MBeans registered with the JMX agent through which resources are managed.
- JMX Agent Layer: the core component (MBeanServer) which maintains registry of managed MBeans and provides an interface to access them.
- Remote Management Layer: usually client side tool like JConsole.
Wrapping this all together, a developer can manage MBeans objects within a JMX application and integrate them into a JMI application through either client or server-side communication integration.
Since this allows for a client on a remote virtual machine to interact with the JMI/JMX instance, we have the potential to exploit this for either enumeration or remote code execution.
Attacking JMX with Beanshooter
Since I’m not the most prominent Java developer in the slightest, I decided to do some research on JMX tools online that could do enumeration for us. After a bit of time, I came across beanshooter by qtc.
Beanshooter is an RMX enumeration and attacking tool that helps identify vulnerabilities in JMX applications. With this tool, we can enumerate the JMX environment by utilizing Java object invocation on certain methods in the application.
The GitHub repository listed has the basic installation for the utility, though you’ll need to make sure you have both Maven and a linked JDK installation. Your java version that is installed by default should already link itself to maven automatically, though this resource seemed to help me when I was troubleshooting initially.
└─$ mvn --version |
You can then compile the beanshooter repository by executing mvn package within the root directory of the GitHub repo.
This should build the Java binary within /target.
-rw-rw-r-- 1 daz daz 4584431 Jul 2 16:57 beanshooter-4.1.0-jar-with-dependencies.jar |
You can then execute this binary by running it against the java command-line tool.
└─$ java -jar beanshooter-4.1.0-jar-with-dependencies.jar -h |
Now that we have the utility downloaded, let’s enumerate the target environment. You can do so by using the enum argument parameter which will enumerate the target server for common JMX vulnerabilities. There aren’t any positional arguments that we need aside from the host and port of the target server.
└─$ java -jar beanshooter-4.1.0-jar-with-dependencies.jar enum 10.10.89.27 2222 |
As you can see, the enumeration functionality was able to verify a common vulnerability within this specific JMX server. It seems as though in our scenario, the JMX service does not require authentication.
It also was able to successfully enumerate two tomcat users, manager and admin, along with their plaintext passwords. Should we have needed to brute-force the application to check for weak passwords, we could use beanshooter‘s brute functionality.
Now that we have credentials to the JMX application, we can simply call a standard shell invocation using beanshooter‘s standard functionality.
└─$ java -jar beanshooter-4.1.0-jar-with-dependencies.jar standard 10.10.89.27 2222 tonka |
As you can see, an MBean object that abuses the StandardMBean method was deployed on the target webserver. We can call this tonka object by calling it directly from our client-side session to create a command-line session.
└─$ java -jar beanshooter-4.1.0-jar-with-dependencies.jar tonka shell 10.10.89.27 2222 |
As you can see, a command-line session was generated as the tomcat user. I stood up a Sliver C2 session at this point, just to get a proper shell since I noticed I couldn’t execute some commands (that you’ll see us do later) for basic Bash usage, like su or sudo.

Pivoting via Google Authenticator
Doing a bit of a enumeration onto the internal filesystem seems to show us that there are two users in the /home directory.
tomcat@manage:/tmp$ ls /home |
Given that we have two usernames and passwords from our enumeration of the JMX environment earlier, I decided to see if either of these users had the same password associated with their account. While I didn’t get a direct match immediately, I did notice that a new prompt appeared for the local useradmin user when entering in the JMX admin user’s password from before.
[+] Username: admin |
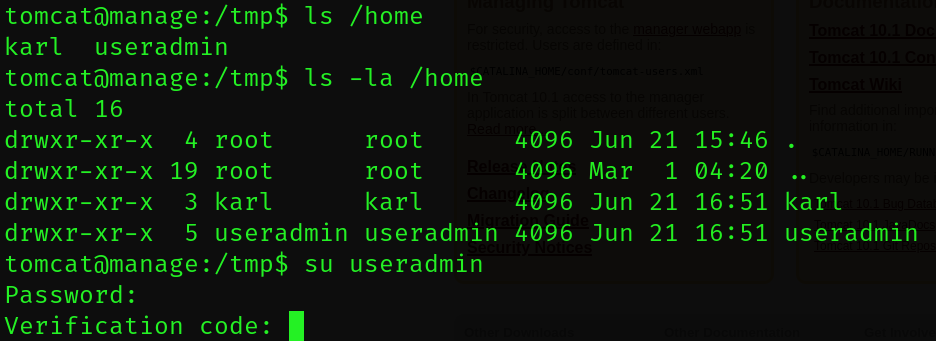
It seems that the useradmin‘s password is the same as the admin user that we saw from before. It didn’t give us an authentication error message and instead prompted us to enter in a verification code.
I’ve tested using Linux authentication tied to secondary authentication/MFA, so I know there must be some form of authentication tied to the useradmin‘s user. I’m more familiar with using Google authenticator for this, so I decided to do a recursive search for any Google authenticator files on the filesystem.
tomcat@manage:/tmp$ find / -name *google* 2>/dev/null |
I found an odd file denoted as .google_authenticator within the home directory for useradmin. I wouldn’t expect for us to be able to access this, however I noticed that useradmin did not have restricted access for the everyone group on the filesystem - meaning we could access their home directory.
Upon trying to access their file, we can see that we don’t have access to it. We do however have read access to the backups directory within their home folder.
tomcat@manage:/home/useradmin/backups$ ls -la |
It seems that a tar/gzip archive exists in this backups directory. I pulled this to my local machine by downloading it through Sliver, and unzipped the archive to see its contents.
└─$ tar -xzf backup.tar.gz |
It seems that a similar .google_authenticator file was decompressed from the archive. If we read this file, we can see that there are a plethora of verification codes that are within this file.
└─$ cat .google_authenticator |
Based on the RATE_LIMIT, my guess is that we can only use these backup verification codes three times every 30 minutes or they refresh every 30 minutes.
If we attempt to log in as useradmin with their password and one of these verification codes (I used 99852083), we can see that the codes seem to work and we are able to login as useradmin.
tomcat@manage:/home/useradmin/backups$ su useradmin |
I made sure to execute my Sliver binary again so we aren’t required to use another token for a login attempt.
Privilege Escalation via Admin Group
Upon getting access to useradmin, I immediately ran sudo -l to see if we had sudo access to any binaries on the filesystem.
tomcat@manage:/home/useradmin/backups$ su useradmin |
We seem to have sudo access to /usr/sbin/adduser, though you’ll notice that a string of text is following the command.
I did some research into specifically what this meant, and it seems to be a string of characters followed by regular expression variables that limit the extent of the command.
^indicates that the start of a line.[a-zA-Z0-9]indicates any set of alphanumeric characters.+means that we can add an unlimited amount of characters, given that they fall under the prerequisites of the previous regex statement (alphanumeric).$indicates the end of the line.
This essentially means that we only have the ability to enter in a string for adduser, limiting what we essentially are able to do.
The /usr/sbin/adduser binary seems to just be adding a user. The interesting part is that a --system function exists in that binary which seems to allow us to add a system privileged (root-level) user. The only issue is the regular expression privileges that I described earlier, which limit us from adding anything else besides an alphanumeric string as an argument in the command.
useradmin@manage:~/backups$ sudo /usr/sbin/adduser daz --system |
If the binary ends up requiring us to enter in the useradmin password, this means that our string was not accepted and it WILL error out if you authenticate normally. We have NOPASSWD privileges for this binary, meaning it should work normally without a password if we use the command as intended.
My first thought when doing this was to see if there were any ways to exploit how Linux interprets regular expressions with their commands. I was able to trigger regex when attempting to use bash-specific characters like ! and \:
useradmin@manage:~/backups$ sudo /usr/sbin/adduser daz!a |
Though I wasn’t able to get anywhere with it. I did however, find a solution when considering a specific user we could add while staying in the bounds of what the adduser binary can actually do.
If you try to add a user called root, it should produce an error that the root user already exists - because it does. However, if you look at the default /etc/sudoers file on Ubuntu machines, you may find an interesting parameter that is there by default.
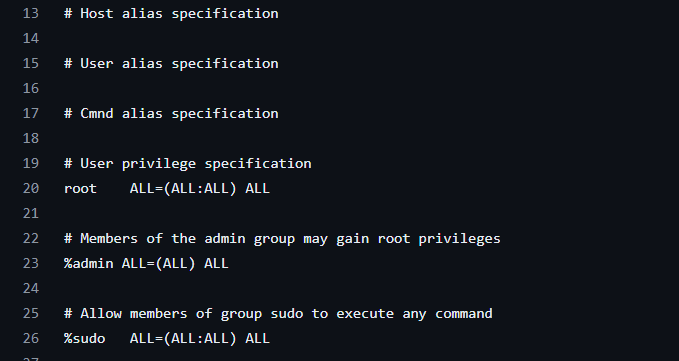
It seems that users within the admin group also have all sudo privileges, much like the root user.
However if you’ll notice, there is no admin group within /etc/group.
...... |
This means that if we create a user named admin, it should be granted SUDO rights on the machine based on the sudoers file. Since there isn’t a user/group already created, it will interpret the user’s name as the group for it to add to. This is backed by the fact that our users are given a group of their same name if we run cat /etc/group, as listed above.
So if we create a user called admin, it should trick the Linux OS into creating an admin group which will give all users (one of which being our newly created user) SUDO rights on the filesystem.
useradmin@manage:~/backups$ sudo /usr/sbin/adduser admin |
I gave the admin user the password password, and if we attempt to use sudo su:
useradmin@manage:~/backups$ su admin |
As you can see, we were successfully able to login as root. The root flag is within /root/root.txt, and this means we have successfully compromised this machine!

Conclusion
This box really helped with problem-solving and understanding how to properly exploit something if you just consider exactly how it’s supposed to function. Don’t get wrapped up into a rabbit hole by overthinking what you can exploit - instead take some time to think about the overarching functionality that something can do while also staying within the boundaries of its limits.
Great machine, big thanks again to fume and xct.
Resources
https://docs.oracle.com/javase/8/docs/technotes/guides/rmi/index.html
https://www.geeksforgeeks.org/remote-method-invocation-in-java/
https://www.baeldung.com/java-management-extensions
https://docs.oracle.com/javase%2Ftutorial%2F/jmx/mbeans/index.html#:~:text=An%20MBean%20is%20a%20managed,that%20needs%20to%20be%20managed.
https://gist.github.com/alitoufighi/679304d9585304075ba1ad93f80cce0e
https://kodekloud.com/blog/how-to-list-all-groups-in-linux/